Ancient Grains Gluten-Free Sandwich Bread
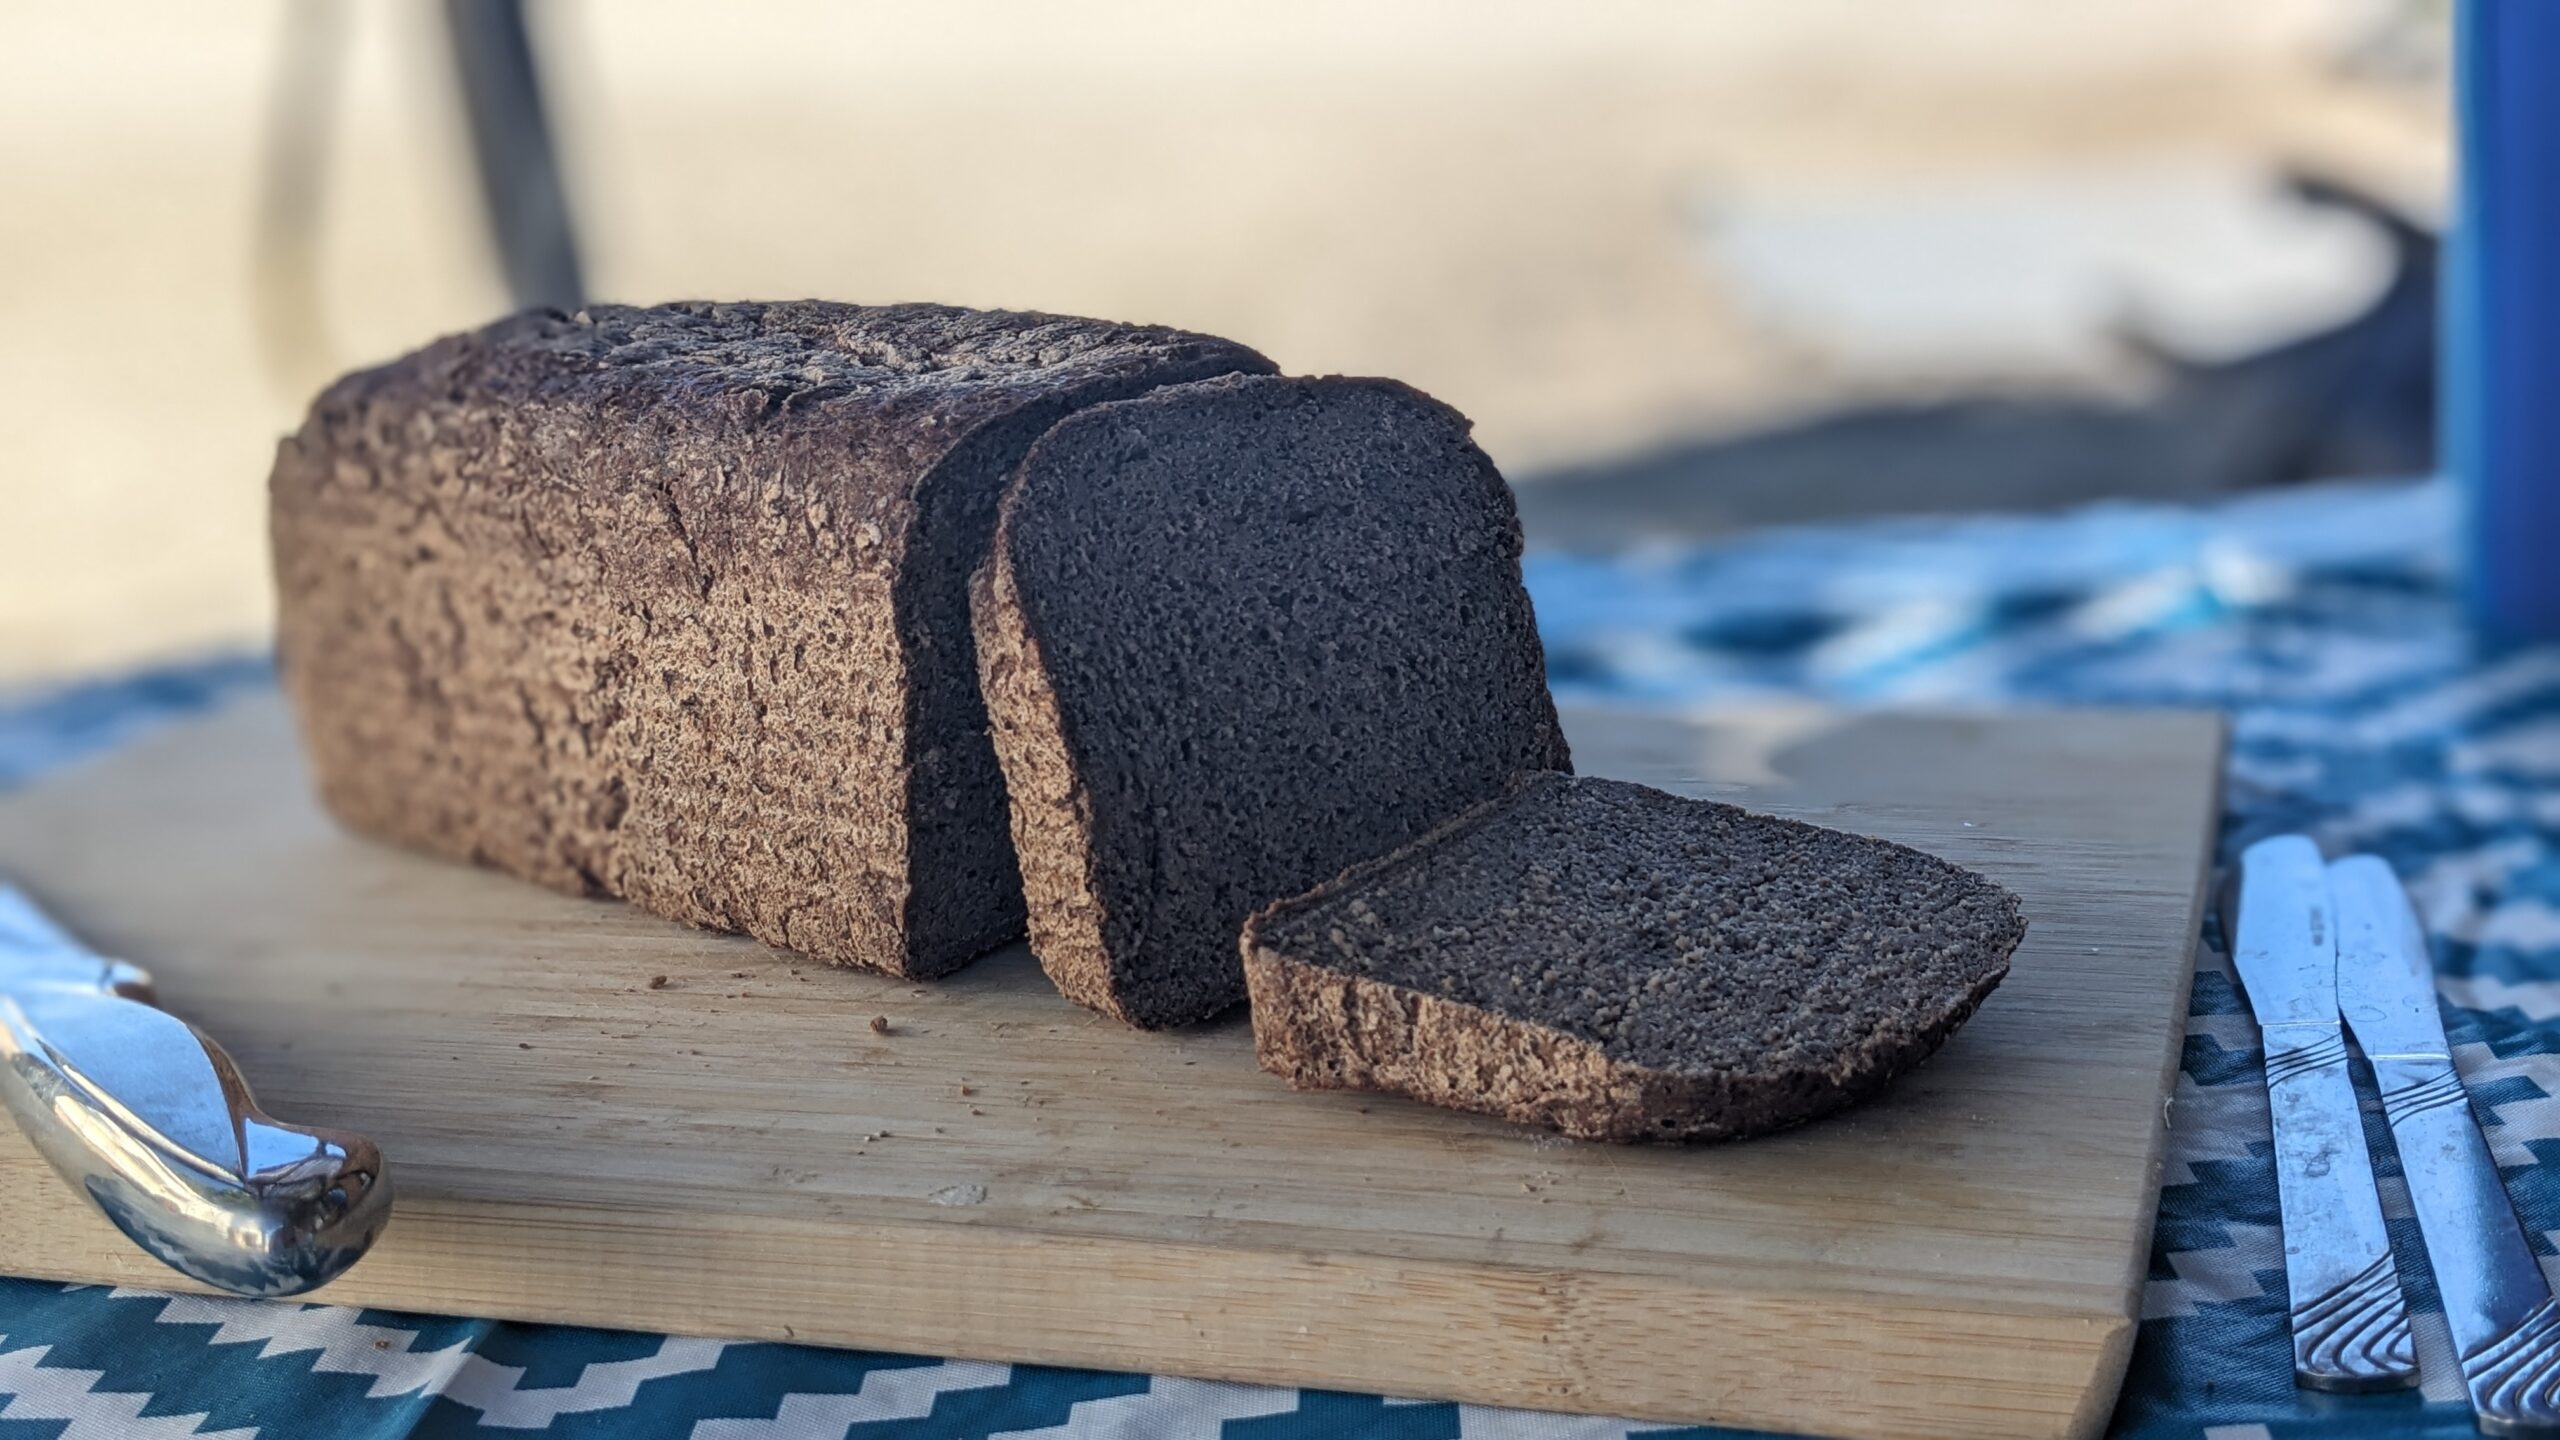
This gluten-free sandwich bread is built around a blend of healthy, ancient-grain flours—such as buckwheat, teff, and millet—chosen for both flavor and nutrition, with the option to incorporate other grains like sorghum or rye. Vegan yogurt adds a gentle sourdough-like tang, while psyllium husk provides the structure needed for a soft, sliceable crumb without traditional gluten.
The process is simple: the dough comes together quickly without kneading, requires minimal shaping, and rises in about an hour before baking. While the flour blend written here is fully gluten-free, the recipe is designed to be flexible, making it easy to adapt to different ancient-grain and starch combinations while still producing a hearty, sandwich-worthy loaf.
Ancient Grain GF-Friendly Sandwich Bread
This easy, no-knead gluten-free sandwich bread uses ancient-grain flours, vegan yogurt, and psyllium for a soft, sliceable loaf that’s simple to make and flexible with flour blends.
Ingredients
Equipment
Method
- In a large mixing bowl, mix together all of your flour blend and salt. Whisk to combine.
- Activate the yeast. In a small bowl, combine the yeast with the sweetener of your choice and 100g of warm water (from the 320g of water), between 100-110℉. It should feel warm, but not hot, to the touch.
- If using date sugar, dissolve it fully in the warm water before adding yeast — or give it an extra couple of minutes. If using date syrup, use a teaspoon or two in the warm water with yeast, then reduce liquid elsewhere in the recipe by that much.
- Note: you will start to see it bubble, which confirms that the yeast is activated.
- Pour the remaining warm water into a separate mixing bowl and slowly whisk in the psyllium. Then mix in the activated yeast, yogurt, and apple cider vinegar.
- Add the wet ingredients to the dry ingredients. (Don’t let the wet ingredients sit too long as it will thicken up quickly, making it more difficult to mix with the flour.) Use a silicone spatula to combine.
- Turn the mixture out onto the countertop or a cutting board and use your hands to lightly knead the rest of the flour in. The dough should feel soft and light – it is not a dense dough and does not a lot of kneading.
- If your dough seems dense or dry, it could be from a difference in yogurt texture. Add up to 30g extra water to get to the right consistency if it seems necessary to make the dough workable.
- Use your hands to knead the dough and shape it into your desired shape. Then, place it in a 1-lb loaf pan lined with parchment paper for the final proof.
- Cover with a tea towel and let the loaf rise for one hour in a warm place. It should just about double in size, and it will feel light and puffy to the touch when it’s ready. Preheat the oven to 400℉ while it rises.
- Bake covered for 45 minutes (allows extra rise), then 30 minutes uncovered to develop crust and color. The final loaf should be browned and crusty.
- Remove from the baking pan. Turn the oven off, place the loaf directly on the oven rack, and prop the oven door open. Let the bread start to cool inside of the oven for 30 minutes to 1 hour. This helps to finish cooking off any gumminess inside of the loaf.
- Remove from the oven and set on a cooling rack to cool completely. Let the loaf cool completely so the inside can set – at least four-to-five hours, or overnight is even better.
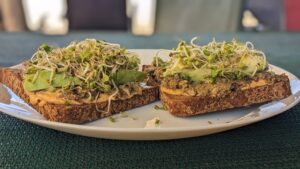
- Slice and eat. The sliced bread stores well in the freezer.
Notes
Gluten-Free Flour Blend
Ancient Grains (300g total): • 105g Buckwheat • 75g Teff • 120g Millet
Starches (160g total): • 105g Tapioca • 55g Arrowroot
Flour Blend Guidelines
This recipe works best when the flour mix is roughly 60–70% ancient-grain or whole-grain flours (buckwheat, teff, millet, sorghum, rye, etc.) and 30–40% starches (tapioca, arrowroot, potato starch, etc.) Keeping within this range ensures the dough has enough structure, moisture retention, and lift. Small adjustments are fine, especially when swapping flours with similar absorbency.
This recipe is inspired by and adapted from Bakerita Gluten-Free Bread with Yogurt